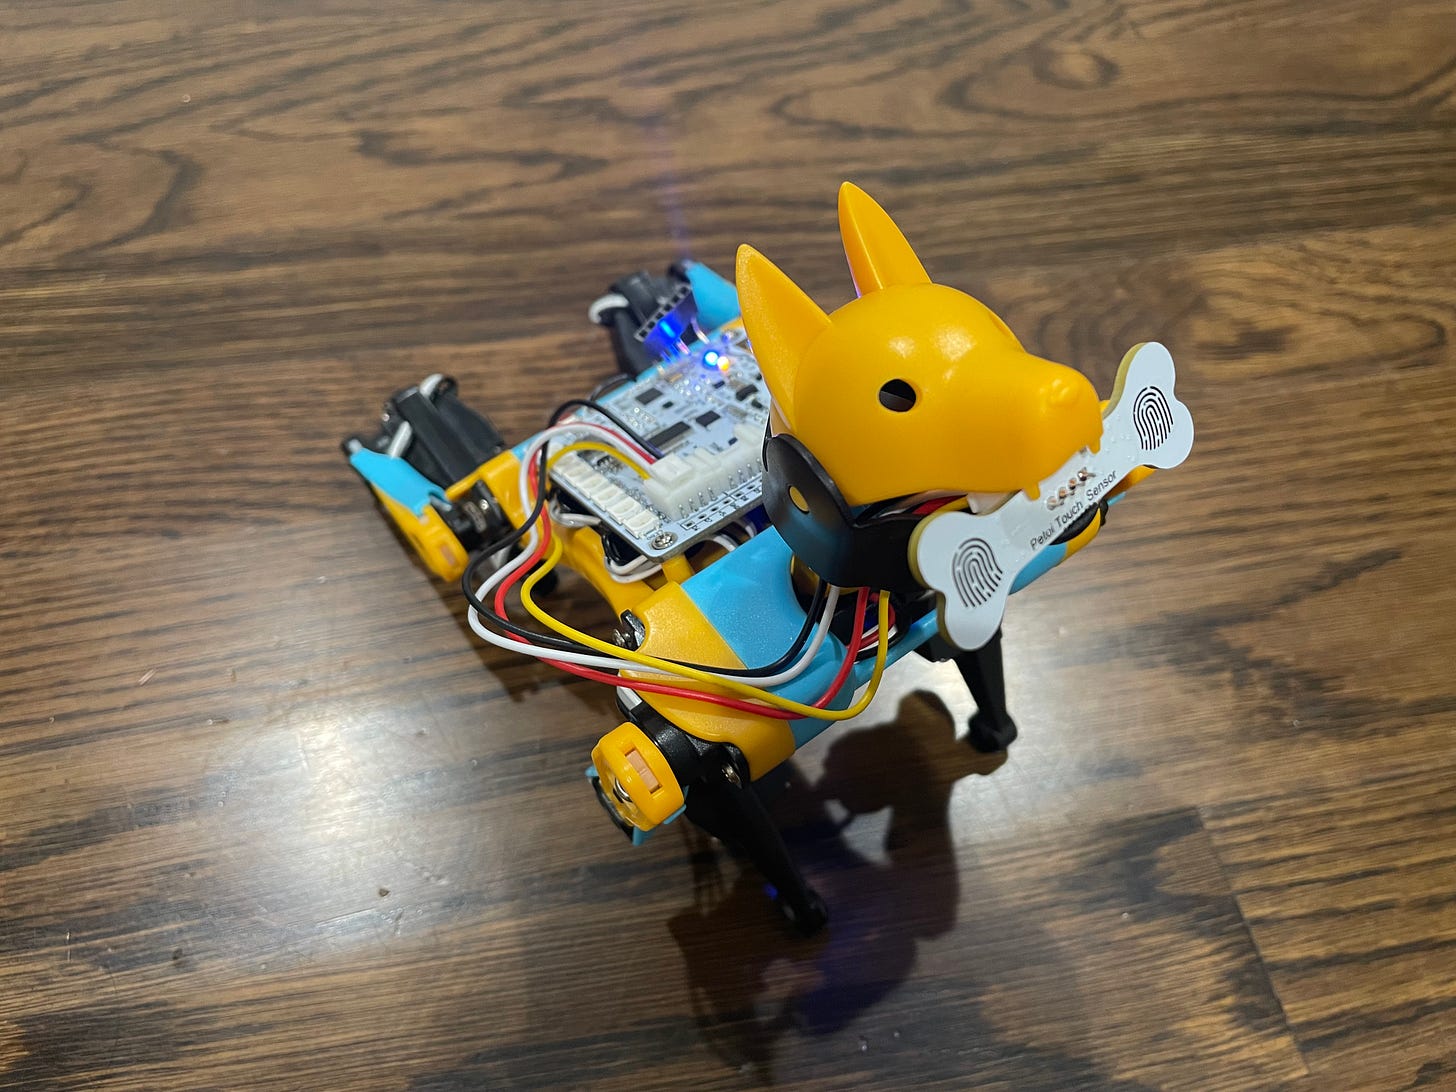
Programming the Petoi Double Touch Sensor
A keyboard equivalent for the Bittle robot
In the next series of posts, we will explore the Petoi sensor pack for robotics, which is a set of 5 sensors that Petoi sells as an accessory for its Bittle robots. These sensors work and can be programmed similar to the Petoi Camera Module which we have discussed in this forum before. If you are interested in our previous posts on the Petoi Camera Module, you can check our tutorial on making Bittle track a ball, and Bittle responding to colors. Just like the camera module, you can attach a wide variety of Arduino sensors to Bittle. There is some great documentation available on the wide variety of sensors you can use at Petoi’s page on extensible modules.
Double touch sensor
To start with, we choose one of the easiest sensors, the double touch sensor. The double touch sensor contains two touch parts which can detect changes in capacitance when the sensor is touched (the same way your mobile phone touch screen works). The changes detected are binary, that is, for each sensor you can decode a value of 0 or 1. Thus, with two sensors, one can detect 4 possible combinations. One can then program actions for these 4 combinations, as can be seen in the table below.
Demo
Installing the touch sensor is easy, you can wire the sensor to the Nyboard or Biboard board following the instructions on this page. You need to flash a new firmware to your board with the #DOUBLE_TOUCH definition commented out in OpenCat.ino (Refer to the above page for instructions). After powering ON Bittle, you would be able to make Bittle perform gaits by touching the sensors. Here is a brief demo.
Code behind the touch sensor
But the fun doesn’t end here. It is easy to customize what gaits you want Bittle to perform when it recognizes your touch. To learn how to do this, let’s look at the code behind the touch sensor from the OpenCat repository. We will highlight the relevant parts of the code.
for (byte i = 0; i < 2; i++)
    currentTouchState[i] = digitalRead(touchIn[i]);
if (currentTouchState[0] != previousTouchState[0] ||
    currentTouchState[1] != previousTouchState[1]) {
    delay(100);  // read again for concurrent touches
    for (byte i = 0; i < 2; i++)
      currentTouchState[i] = digitalRead(touchIn[i]);
The code maintains two arrays currentTouchState and previousTouchState to maintain the values read from the sensors. It then tries to detect if the values of any of the touch sensors changed, and in that case, another reading is taken to ensure accuracy.
if (currentTouchState[0] && currentTouchState[1]) {
      beep(20, 50, 50, 3);
      tQueue->addTask('k', "bk", 1500);
      tQueue->addTask('k', "up");
}
Now, we start looking at the states of the sensors. If both sensors are touched simultaneously, we will detect ‘1’ in both touch states. On detecting this. we ask Bittle to beep, move backwards (kbk), and then sit up. You can see how the code adds these tasks to Bittle.
The rest of the code follows the same trend, where we detect if either sensor was pressed. In each case, we rotate Bittle’s head in the opposite direction, and play a melody. Here is the code.
else if (currentTouchState[0]) {
      tQueue->addTask('i', "0,90");
      tQueue->addTask('b', "10,16,12,16,14,16");  /
} else if (currentTouchState[1]) {
      char mel[] = { 17, 16, 19, 16, 21, 16, '~' };
      char mov[] = { 0, -90, '~' };
      tQueue->addTask('I', mov);
      tQueue->addTask('B', mel);
} else {
      // char mel[]={
      char mel[] = { 15, 16, 14, 16, 12, 16, '~' };
      tQueue->addTask('i', "");
      tQueue->addTask('k', "sit");
      tQueue->addTask('B', mel);
}
The last else covers the case of neither of the sensors being detected. Bittle is asked to sit.
Design your own response to touch
Changing the code is relatively easy. As an example, we can ask Bittle to push its butt up when both sensors are touched, before returning to the sit upright position with the following code replacing the case when both sensors are touched.
if (currentTouchState[0] && currentTouchState[1]) {
      beep(20, 50, 50, 3);
      tQueue->addTask('k', "buttUp");
      tQueue->addTask('k', "up");
}
Here is a demo after flashing the new code to Bittle’s firmware.
The fun still doesn’t end here. You can clever use delays along with reading values from the touch sensor, to create more combinations. More on that in our subsequent posts.
Conclusion
Sensors add life to the Bittle. There is a ton to explore and learn here. If you have experience playing with Bittle’s sensory accessories, please share your thoughts in the comments section below. Please keep monitoring our posts for more tutorials on coding Bittle with sensory inputs.


